There is a unique kind of joy that comes from opening a handmade card. Store-bought greetings certainly serve their purpose, but a custom creation carries a specific warmth. It shows the recipient that you dedicated your most valuable resource to them: your time.
For creatives and DIY enthusiasts, birthdays present a blank canvas. This is the perfect excuse to pull out your crafting supplies, experiment with new techniques, and create a miniature piece of art. A card does not have to be a simple folded piece of cardstock. It can be a sculptural, interactive, and deeply personal experience.
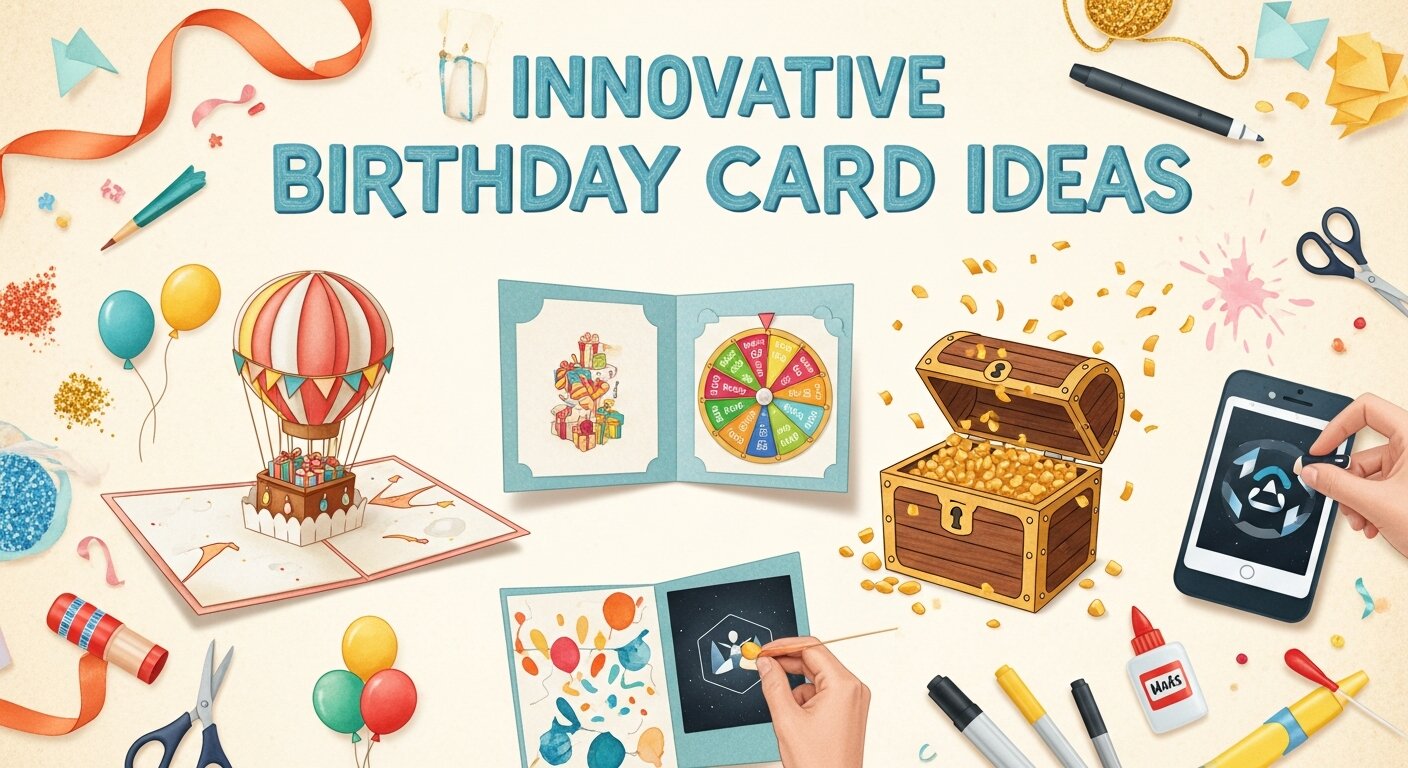
Finding fresh inspiration can sometimes be a challenge, even for the most seasoned crafters. You might find yourself repeating the same designs or relying on familiar paper-cutting techniques. That is why exploring innovative birthday card ideas is essential for keeping your creative spark alive.
Whether you want to try paper engineering or incorporate unexpected textiles, there are countless ways to elevate your paper crafts. In this post, we will explore various techniques and concepts to help you design unforgettable greetings. We will also look at how your crafting skills can even spark innovative business ideas if you decide to share your creations with the world.
Why Handmade Cards Leave a Lasting Impression
People keep handmade cards for years, often tucking them into memory boxes or displaying them on bulletin boards. A mass-produced card usually ends up in the recycling bin after a few days. The difference lies in the intention behind the craft.
When you make a card yourself, you tailor the colors, textures, and themes directly to the recipient’s personality. You can incorporate inside jokes, favorite animals, or specific aesthetic preferences that you simply cannot find on a store shelf.
Crafting also offers therapeutic benefits. Working with your hands, mixing paints, and carefully measuring paper allows you to unplug from digital screens. It is a mindful activity that rewards you with a tangible finished product.
Essential Materials for Modern Card Making
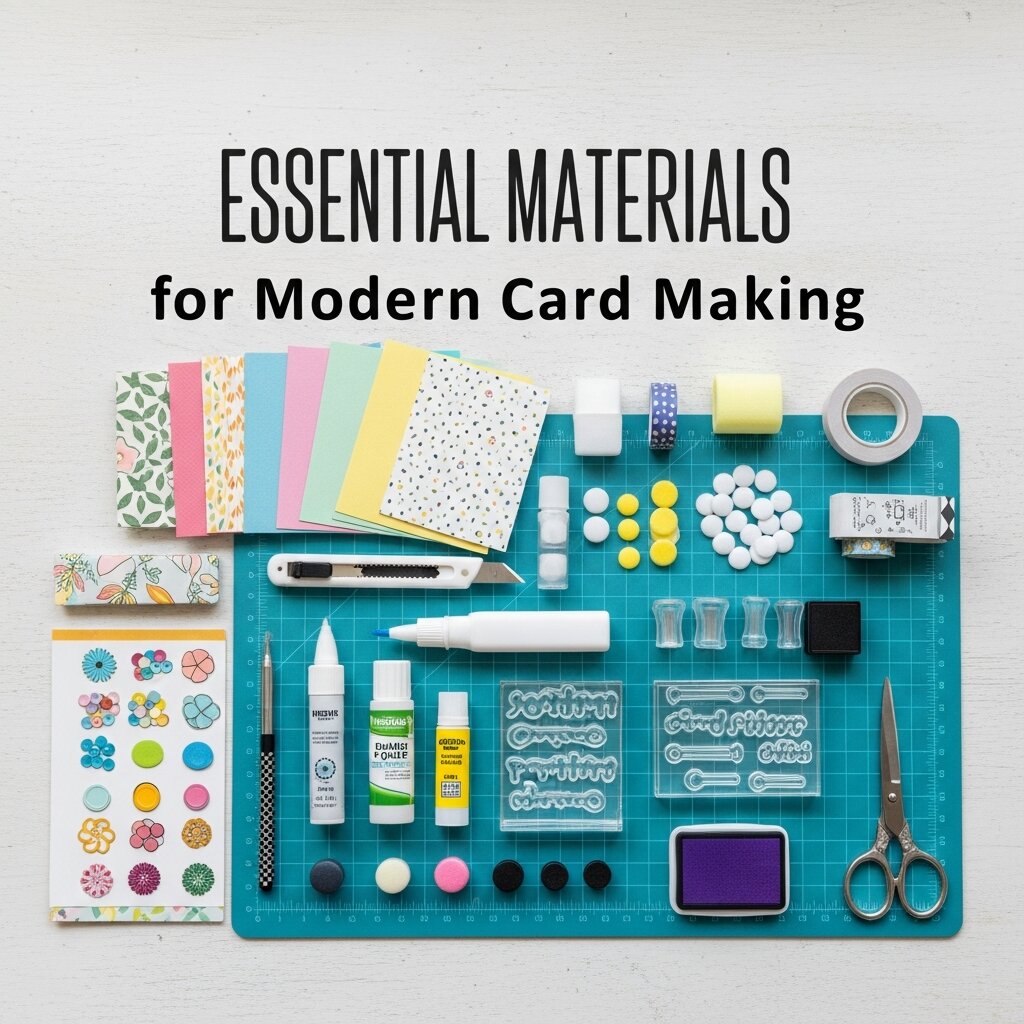 Before attempting advanced designs, you need a solid foundation of supplies. While you might already have scissors and glue, upgrading a few basic items can drastically improve the quality of your finished cards.
Start with high-quality cardstock. Heavyweight paper (around 80 to 110 lb cover weight) prevents your cards from feeling flimsy and stands up better to liquid adhesives and watercolors.
Next, invest in a reliable paper trimmer. Clean, straight edges are the hallmark of a professional-looking card. A bone folder is another inexpensive tool that guarantees crisp, clean folds without cracking the paper’s surface.
For adhesives, keep a mix of double-sided tape, liquid craft glue with a fine tip, and foam mounting squares. Foam squares add instant dimension to your designs by raising certain elements off the page.
7 Innovative Birthday Card Ideas to Try Today
If you are ready to move beyond basic stamping and drawing, try incorporating these structural and artistic techniques into your next project.
The Acetate Shaker Card
Shaker cards are incredibly fun to receive because they are interactive. They feature a clear window on the front of the card, behind which small elements like sequins, glitter, or tiny beads move freely when the card is shaken.
To make one, cut a shape (like a balloon, star, or simple rectangle) out of the front panel of your card. Glue a piece of clear acetate plastic behind the cutout. Next, frame the back of the cutout with thick foam tape, creating a sealed border.
Pour your sequins or beads into the center of this foam frame. Finally, carefully press a backing piece of paper onto the foam tape to seal the shaker elements inside. When the recipient opens the envelope, they are greeted with a miniature, colorful snow globe effect.
Embroidered Paper Designs
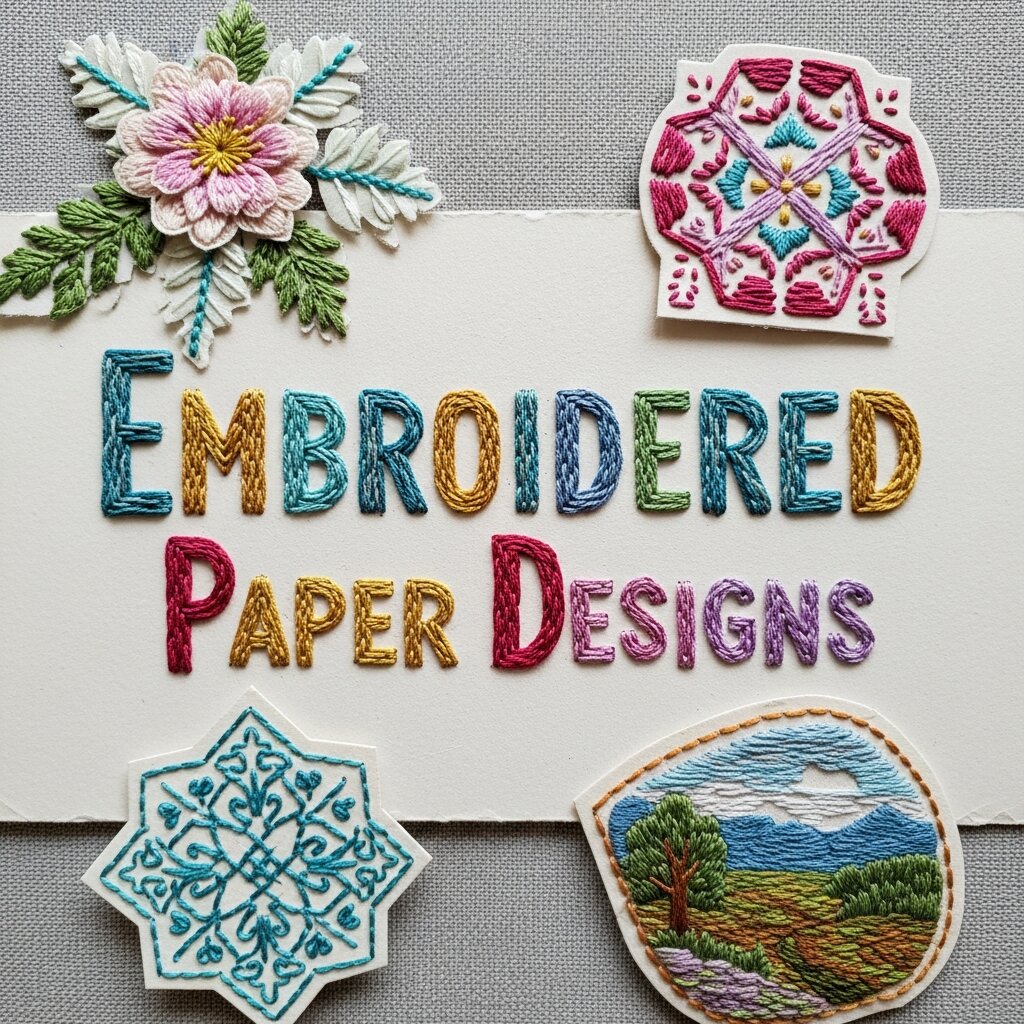 Who says embroidery is only for fabric? Stitching directly onto cardstock adds a beautiful, tactile element to your birthday greetings. This technique blends traditional needlework with paper crafting for a striking result.
Choose a simple line drawing, like a birthday cake, a floral wreath, or the recipient’s age. Lightly sketch the design on the front of your card with a pencil. Use a push pin or a paper piercing tool to poke holes evenly along your drawn lines.
Thread a needle with brightly colored embroidery floss and stitch through the pre-punched holes. You can use a basic backstitch for a clean line or experiment with french knots for added texture. The heavy thread contrasting against the smooth paper creates a sophisticated, rustic look.
Watercolor and Masking Fluid Resist
Watercolor offers a loose, organic aesthetic that contrasts beautifully with sharp lettering. To create a crisp, professional design, use masking fluid (or drawing gum) to block out specific areas of your paper before painting.
Write a celebratory message or draw a pattern on watercolor paper using a fine-tipped brush dipped in masking fluid. Allow the fluid to dry completely. It will form a rubbery, protective seal over the paper.
Next, paint a vibrant watercolor wash over the entire page. Let the paint dry completely. Gently rub your finger or an eraser over the masked areas to peel away the rubbery fluid, revealing the bright white paper underneath.
Interactive Pull-Tab Mechanisms
Adding movement to a card surprises the recipient and encourages them to engage with your art. A simple pull-tab mechanism can make a hidden message appear or cause a paper character to slide across the page.
You can create a basic slider by cutting a straight slit in your main card panel. Attach a small paper image (like a rocket ship or a flying bird) to a coin using a tiny piece of foam tape. Slip the coin behind the slit, with the image sitting on the front.
Attach a long strip of sturdy cardstock to the back of the coin. When the recipient pulls the strip of paper, the coin slides along the slit, moving the image across the card.
Botanical Seed Paper Cards
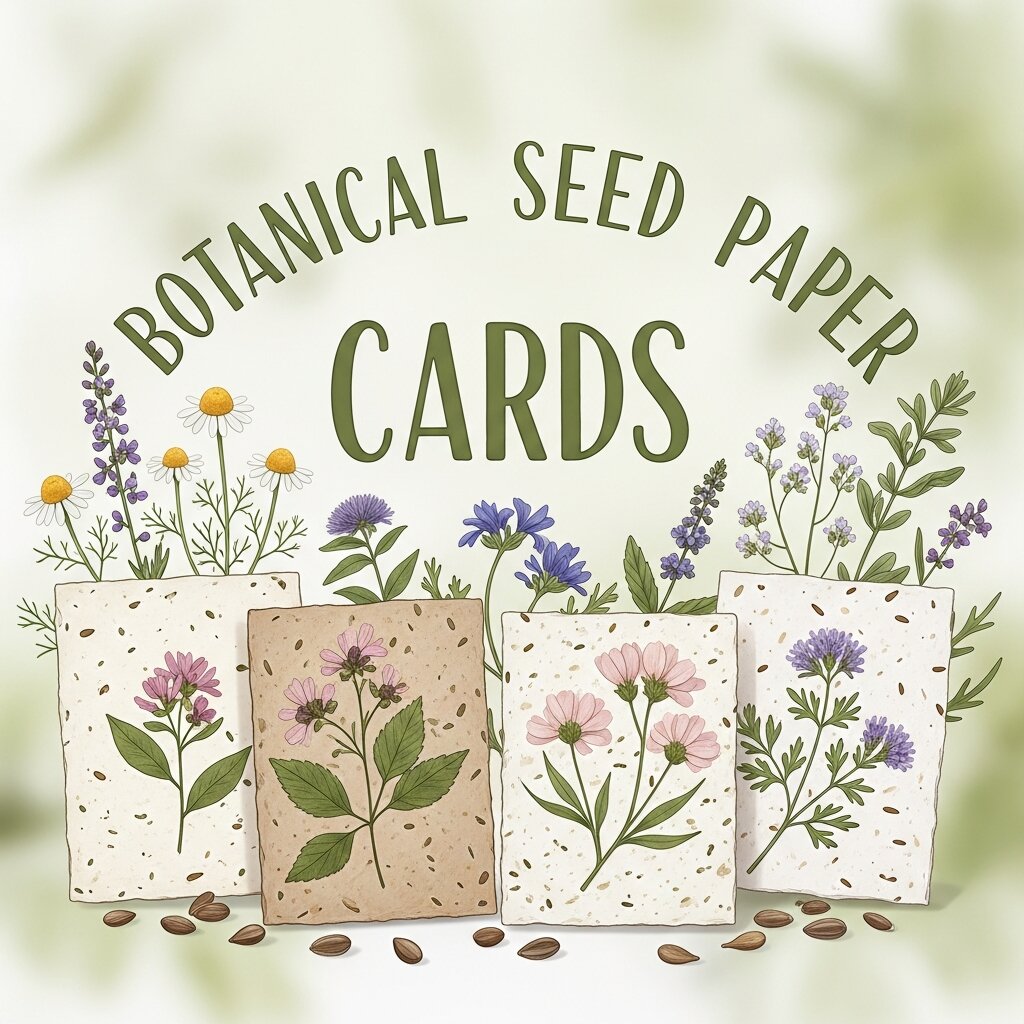 For an eco-friendly approach, design a card that the recipient can actually plant in their garden. Seed paper is handmade paper embedded with wildflower or herb seeds.
You can make your own seed paper by blending scrap paper with water to create a pulp. Stir small seeds into the pulp, then press the mixture flat on a screen to dry. Once dry, cut the paper into shapes or use it as the main panel of your card.
Write your birthday message using a non-toxic marker. Include a small note instructing the birthday person to plant the card under a thin layer of soil, water it regularly, and watch their birthday gift bloom into a patch of flowers.
Upcycled Magazine and Book Page Collages
If you love a vintage or mixed-media aesthetic, turn to old books, newspapers, and magazines. Collaging allows you to create vibrant, chaotic, and highly textured designs without needing advanced drawing skills.
Tear strips of text from an old book to use as a neutral background. Cut out brightly colored shapes, faces, or botanical prints from magazines to layer over the text. Use a glue stick or matte medium to secure the pieces.
To unify the collage, add a few splatters of black or white acrylic paint across the finished design. This style is perfect for creating edgy, contemporary birthday cards for friends with a bold sense of style.
Pop-Up Cards with Geometric Precision
Pop-up cards are classic, but you can modernize them by focusing on sharp, geometric shapes rather than intricate paper engineering. A simple v-fold pop-up can hold a 3D cube, a pyramid, or a bursting star.
To create a basic pop-up platform, fold a piece of cardstock in half. Make two parallel cuts across the folded edge, about an inch apart. Open the card and push the cut section forward, creasing it so it stands out as a small box when the card is opened at a 90-degree angle.
You can glue any shape or message to the front of this box. When the card closes, the platform folds flat inside.
Turning Your Passion into a Side Hustle
As you hone your crafting skills and experiment with these innovative birthday card ideas, you might notice people asking if they can buy your creations. Handmade paper goods remain highly sought after in a market saturated with digital communication.
Selling custom greetings is one of many innovative business ideas for creative individuals. You can start small by opening an Etsy shop or renting a booth at local craft fairs. Because the overhead for paper crafting is relatively low, the profit margins can be quite favorable.
To stand out in the handmade marketplace, focus on a specific niche. Perhaps you specialize exclusively in heavily embroidered cards, or maybe you create sarcastic, minimalist watercolor designs. Developing a recognizable brand style will help you attract a loyal customer base.
Consider offering custom personalization for an additional fee. Allowing customers to request specific names, ages, or color palettes gives your business an edge over big-box retailers.
Common Mistakes to Avoid When Crafting
Even experienced crafters run into issues from time to time. Being aware of common pitfalls will save you frustration and wasted materials.
Using the wrong adhesive is a frequent problem. Heavy liquid glues can warp thin paper, leaving unsightly wrinkles. Always use a thin, even layer of glue, or opt for double-sided tape for large, flat panels.
Another mistake is rushing the drying process. Whether you are waiting for watercolor paint to dry or liquid adhesive to set, impatience usually leads to smudged ink or crooked layers. Set your project aside and take a break rather than trying to speed through the final steps.
Finally, measure twice and cut once. Guessing the dimensions of your card panels usually results in lopsided borders. Use your paper trimmer and a ruler to ensure every layer is perfectly square.
Frequently Asked Questions (FAQ)
1. What are innovative birthday card ideas?
Innovative birthday card ideas go beyond traditional designs by incorporating creativity, interactivity, and unique materials. These can include pop-up cards, shaker cards, embroidered designs, or eco-friendly seed paper cards.
2. Why should I choose handmade birthday cards?
Handmade cards feel more personal and meaningful. They show effort, creativity, and thoughtfulness, making them more memorable than store-bought options.
3. What materials do I need for creative card making?
Basic materials include high-quality cardstock, scissors, glue, double-sided tape, foam squares, markers, and decorative elements like sequins, ribbons, or watercolor paints.
4. Are DIY birthday cards suitable for beginners?
Yes, many designs are beginner-friendly. Simple techniques like collage, basic watercolor, or minimal pop-up elements can be easily created without advanced skills.
5. How can I make my birthday card more unique?
You can personalize your card with the recipient’s favorite colors, hobbies, inside jokes, or add interactive features like pull-tabs and shaker elements.
6. Can I sell handmade birthday cards as a business?
Yes, handmade cards are in high demand. You can sell them online, through social media, or at local craft fairs by focusing on a unique style or niche.
7. What is the best size for a handmade birthday card?
A common and convenient size is A2 (4.25 x 5.5 inches), as it fits standard envelopes and is easy to create from regular cardstock.
8. How do I avoid mistakes when making cards?
Use the right adhesive, measure carefully before cutting, and allow enough drying time for paints and glue to prevent smudging or warping.
9. Are interactive cards difficult to make?
Not necessarily. While some designs require practice, many interactive cards like simple sliders or pop-ups can be created with basic techniques.
10. Can I use recycled materials for birthday cards?
Absolutely. Upcycled magazines, newspapers, and scrap paper can be used to create unique and eco-friendly card designs.
Wrap Up Your Next Masterpiece
Creating handmade greetings is a beautiful way to celebrate the people in your life. By moving away from basic designs and exploring interactive elements, textiles, and mixed media, you transform a simple piece of paper into a memorable keepsake.
Gather your materials, choose one of the techniques outlined above, and allow yourself the freedom to experiment. Do not worry about achieving absolute perfection. The slight variations and handmade quirks are exactly what make your creations special. Pick up your paper trimmer today and start building a birthday card they will never forget.
Leave a Reply